Review: BetaFPV Artlynk FPV System – Analog Price, Digital Quality! But There Are Some Issues... - Oscar Liang
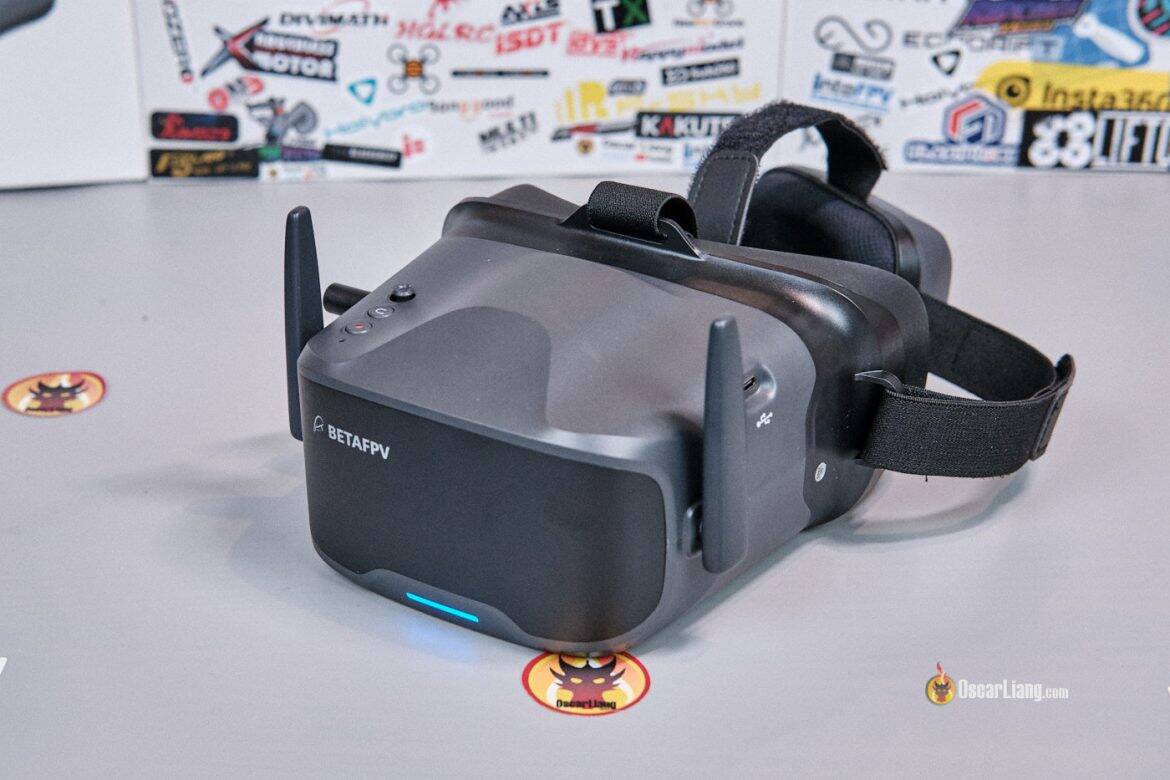
Several new FPV systems released over the past few months are based on the Artosyn chipset and share very similar performance and image quality. One of these is the BetaFPV Artlynk system. Very affordable and very lightweight which is perfect for FPV drones. In this review, I’ll take a quick look at how the Artlynk performs and whether it’s for you.
Table of Contents
Where to Buy
There are currently VTX, FPV goggles, and BNF drones available.
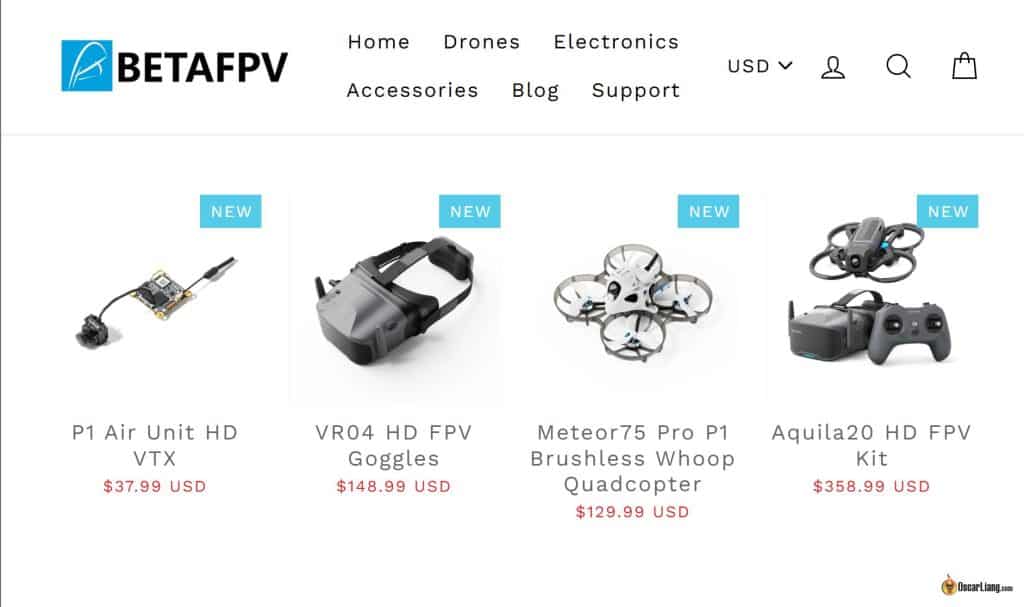
P1 Air Unit HD VTX:
-
BetaFPV: https://oscarliang.com/product-3xld
-
AliExpress: https://s.click.aliexpress.com/e/_c3fikE3t
VR04 HD FPV Goggles:
-
BetaFPV: https://oscarliang.com/product-ygue
-
AliExpress: https://s.click.aliexpress.com/e/_c2y1r0s3
-
Banggood: https://oscarliang.com/product-sxuz (coupon: BG5feaef)
Meteor75 Pro with P1 Air Unit:
-
BetaFPV: https://oscarliang.com/product-987e
-
AliExpress: https://s.click.aliexpress.com/e/_c3SKWG1z
Aquila20 HD FPV Kit:
-
BetaFPV: https://oscarliang.com/product-afph
-
AliExpress: https://s.click.aliexpress.com/e/_c3SvHZ57
Image Quality
Artlynk’s image quality is noticeably better than analog. You can see objects farther away and branches more clearly, and the dynamic range is quite good. It’s not on the same level as DJI O4, of course, but for a budget system, it’s very impressive.
I tested the Artlynk system on the Aquila20 HD drone.
Range
The advertised range is 400m+ (the Aquila20 drone), but in my testing I was able to fly beyond 500m while still maintaining decent signal. The Aquila20 uses a PCB antenna that is mounted in a somewhat questionable and less-than-ideal place, and the goggles come with two basic dipole antennas.
With better antennas and improved antenna placement, I’m confident you could achieve great range. And this is only at 200mW—imagine higher-power VTX options are released in the future, long-range performance is highly possible.
Just like DJI and Walksnail, when signal gets weak you get yellow/red light at the edges of the screen as visual warning which is helpful.
Latency
During flight, latency is noticeably higher than analog—and even higher than DJI O4. This forces you to slow down when doing anything that requires precision, such as flying through gaps. I did get used to it after a few flights, but it definitely makes flying a bit more challenging.
When you’re just cruising, however, the latency is much less noticeable and is totally flyable.
To be more thorough, I measured glass-to-glass latency (camera to goggles) of some popular FPV systems using an action camera recording at 240fps (results are ± 4ms):
-
DJI O4 (100fps): 33ms
-
DJI O4 (60fps): 50ms
-
Analog: 17ms
-
Artlynk: 67ms
As expected, Artlynk has the highest latency in this comparison—almost double that of DJI O4 in 100fps mode. That said, if you normally fly DJI at 60fps, you probably wouldn’t mind the small amount of additional latency.
As it stands, I think Artlynk is better suited for fixed-wing, or slow-cruising FPV drones. It’s not the best choice for racing, bando flying, or anything time-critical.
Video Recording
Unfortunately, the P1 Air Unit does not have onboard video recording. The only way to record footage is via the goggles’ DVR. This means video quality is directly affected by signal strength—when the signal degrades, the recording can become blurry or even stutter. This is clearly not ideal for anyone looking for the highest possible quality footage, but for casual pilots it is acceptable.
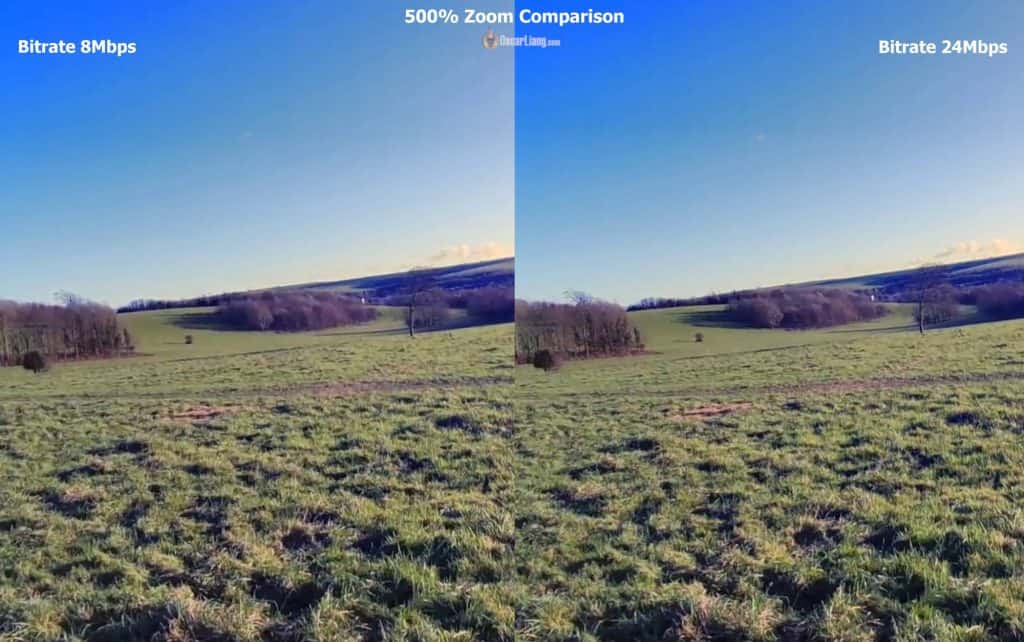
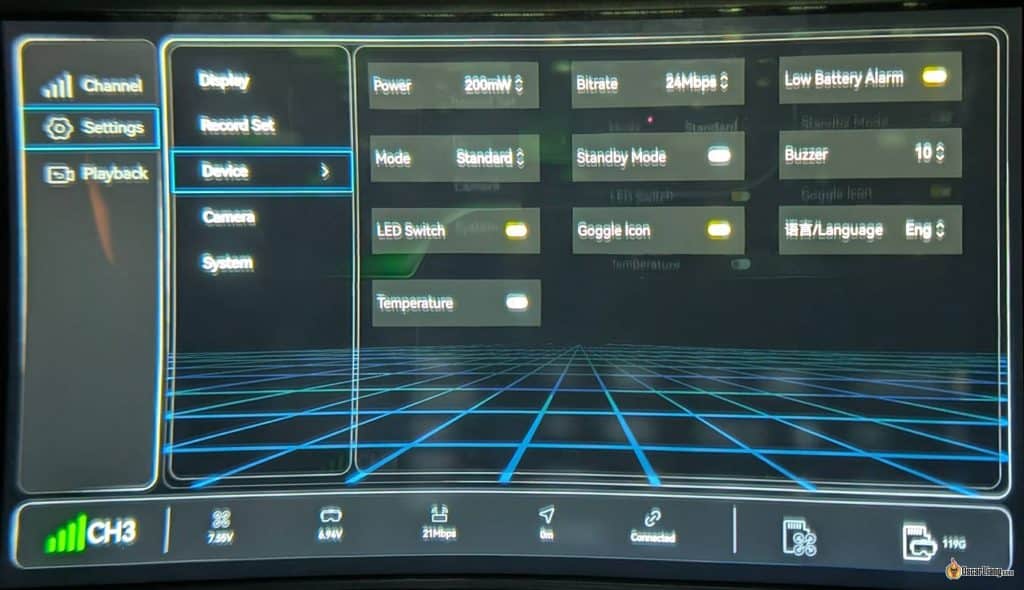
Goggles DVR recordings are captured at 1080p 60fps, and you can select bitrate between 8Mbps and 24Mbps. A higher bitrate improves image detail and clarity, but only marginally, as shown in my zoomed-in comparisons.
Betaflight OSD is not burned into the DVR footage.
Instead, an SRT subtitle file is saved alongside each DVR video. Note that it’s not Betaflight OSD data. This file only contains telemetry data such as video link signal strength, channel, flight time, VTX input voltage, goggles battery voltage, bitrate, and estimated distance. You can overlay this SRT file onto your video in post if you wish. This works very similarly to the original DJI FPV system (V1). I hope future firmware updates will allow users to choose whether Betaflight OSD is burned directly into the DVR footage, or at least have it saved along with DVR videos.
By the way, the system estimates distance (how far the drone is from the pilot) using signal propagation delay, rather than GPS. Most digital FPV systems with two-way communication use this method.
VR04 HD FPV Goggles
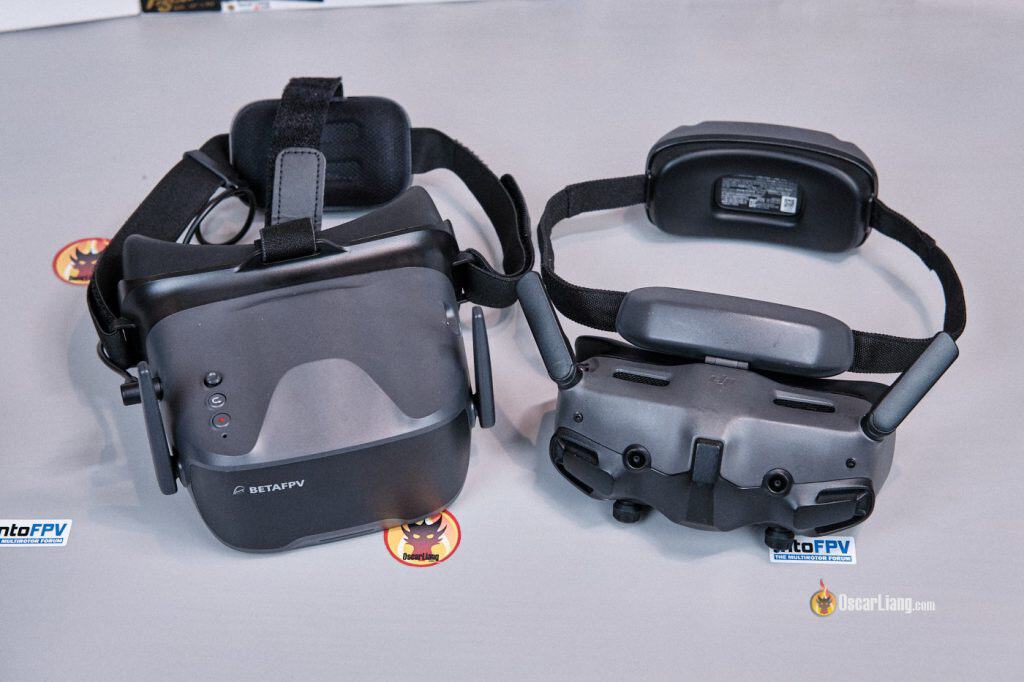
Currently, only one pair of goggles supports the Artlynk FPV system: the BetaFPV VR04 HD FPV Goggles. They look almost identical to the analog VR04 goggles, but the HD version features two antennas.
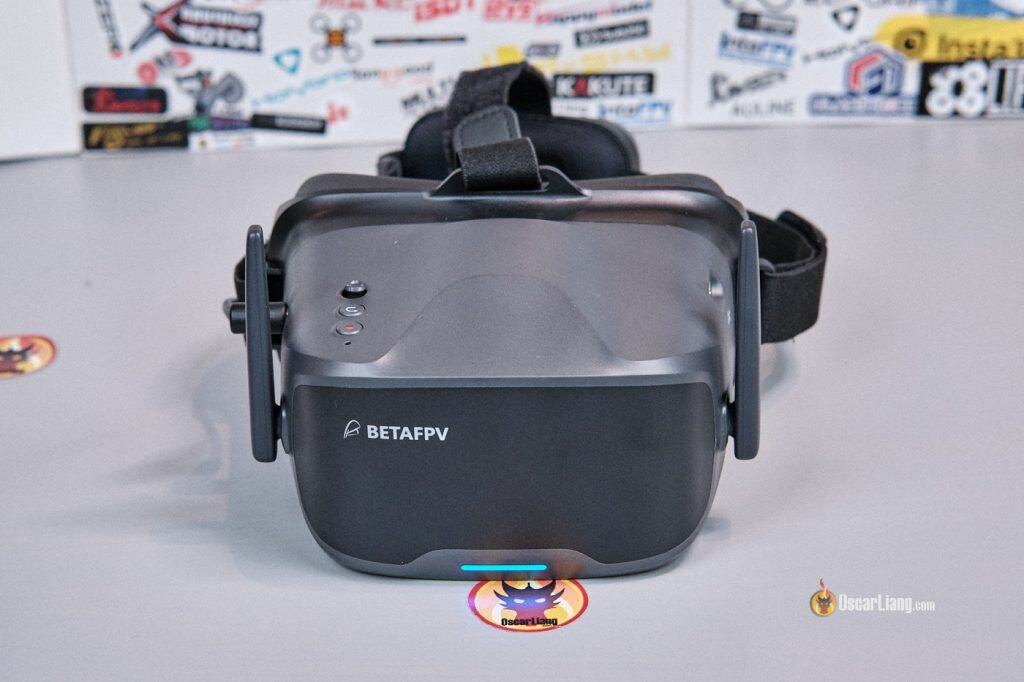
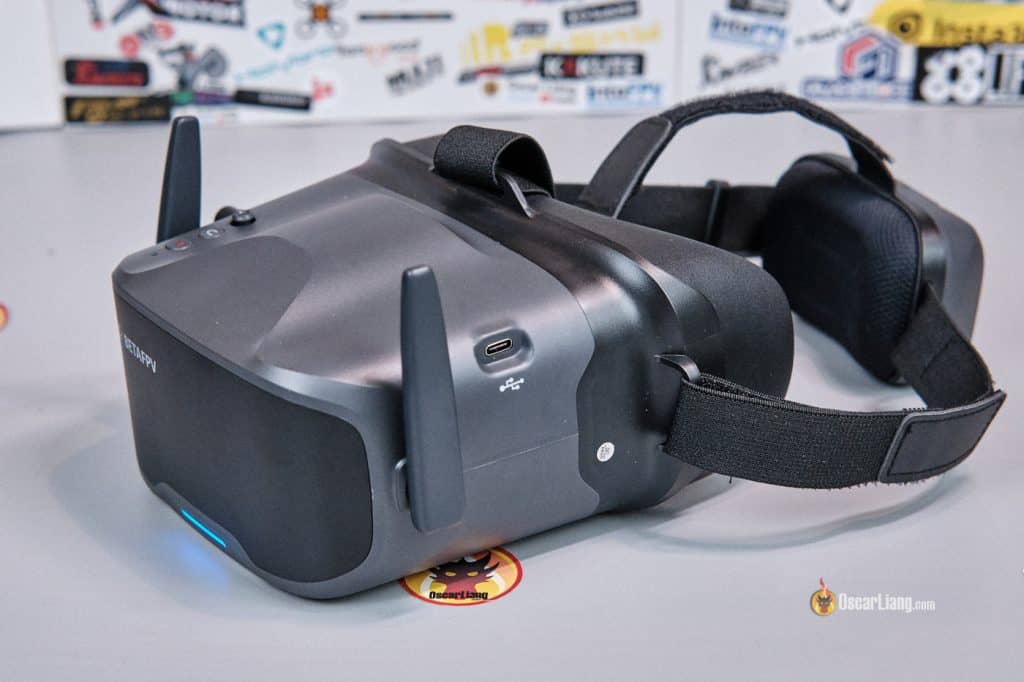
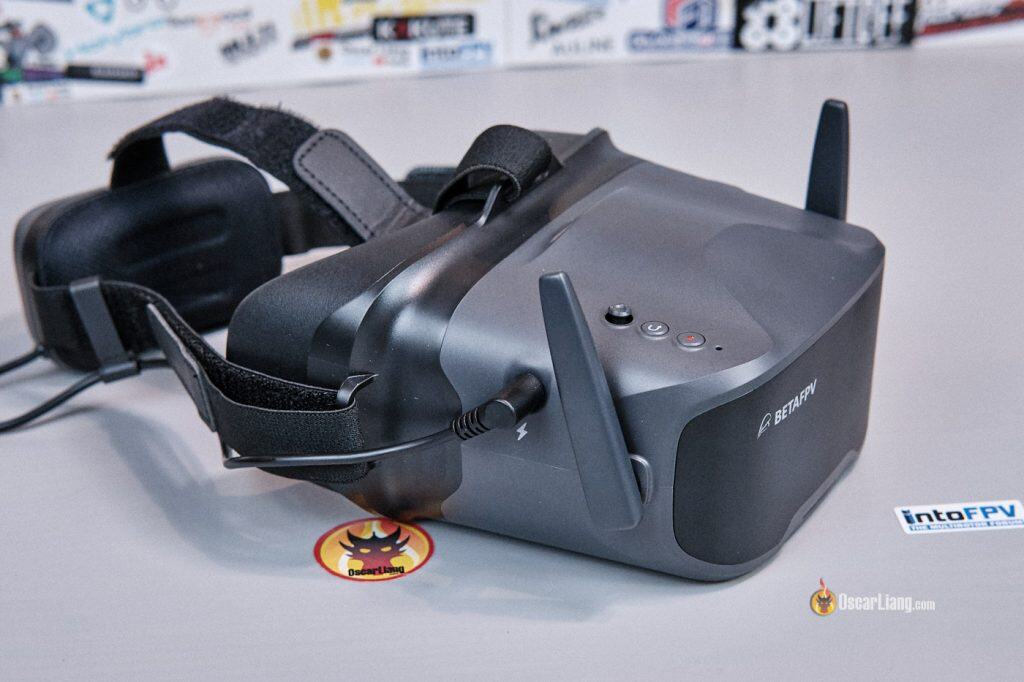
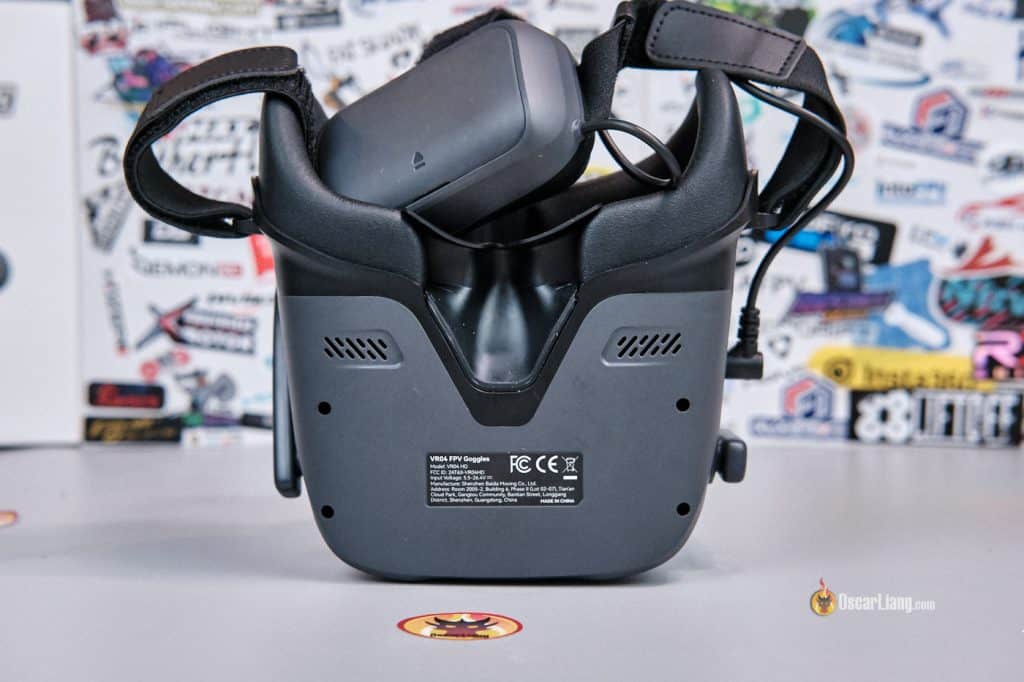
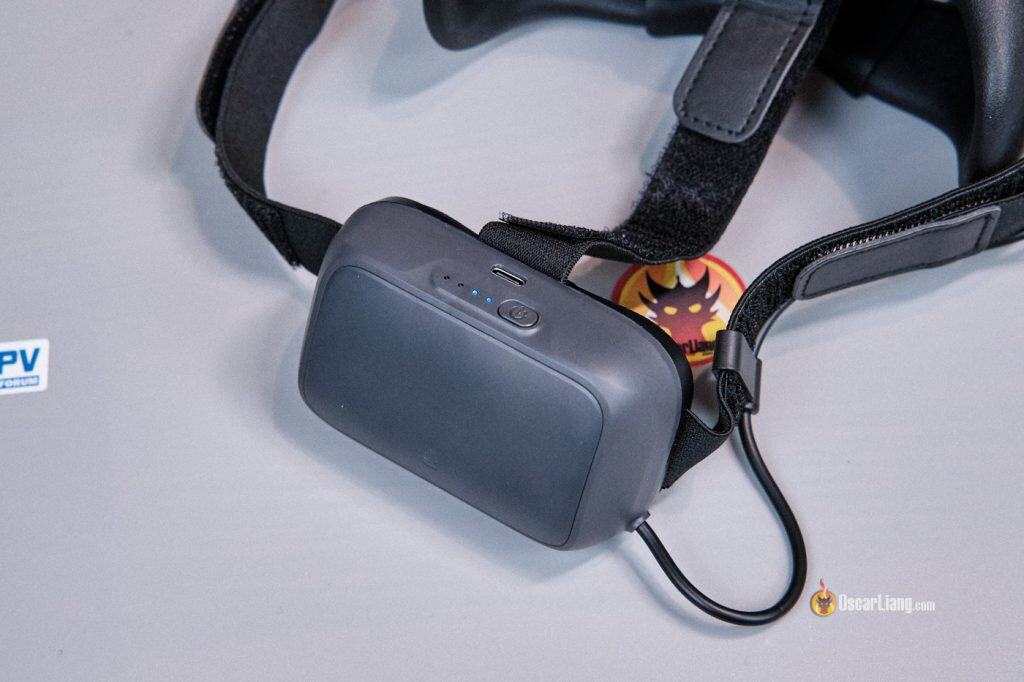
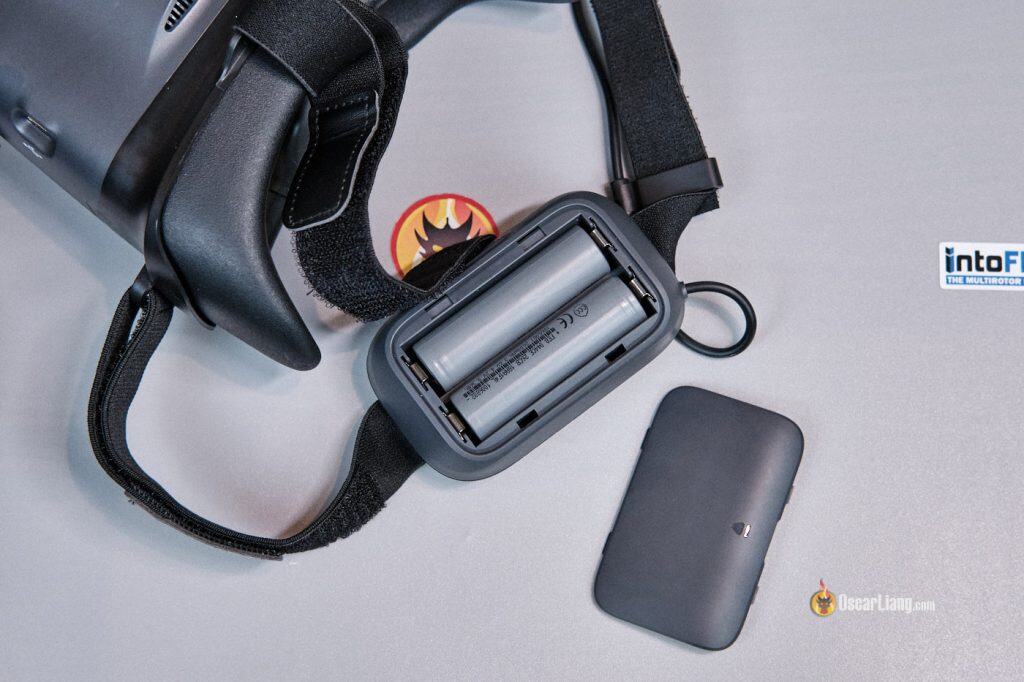
The goggles are powered by an external battery mounted on the rear of the headband. It’s essentially a battery holder that takes two 18650 Li-ion cells, with a USB port for charging and a dedicated power button.
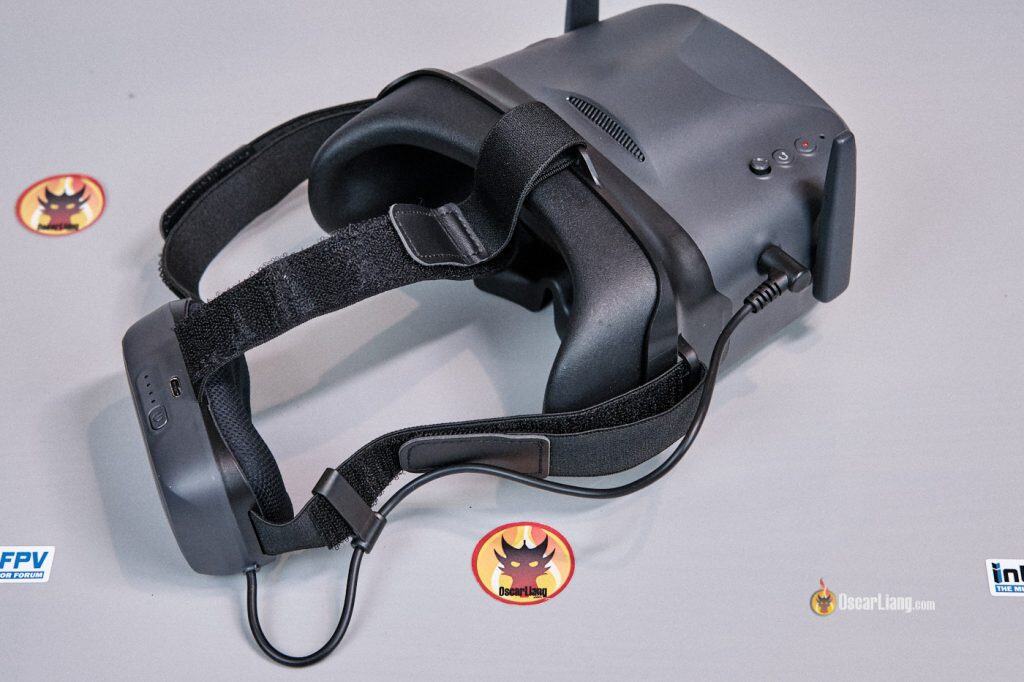
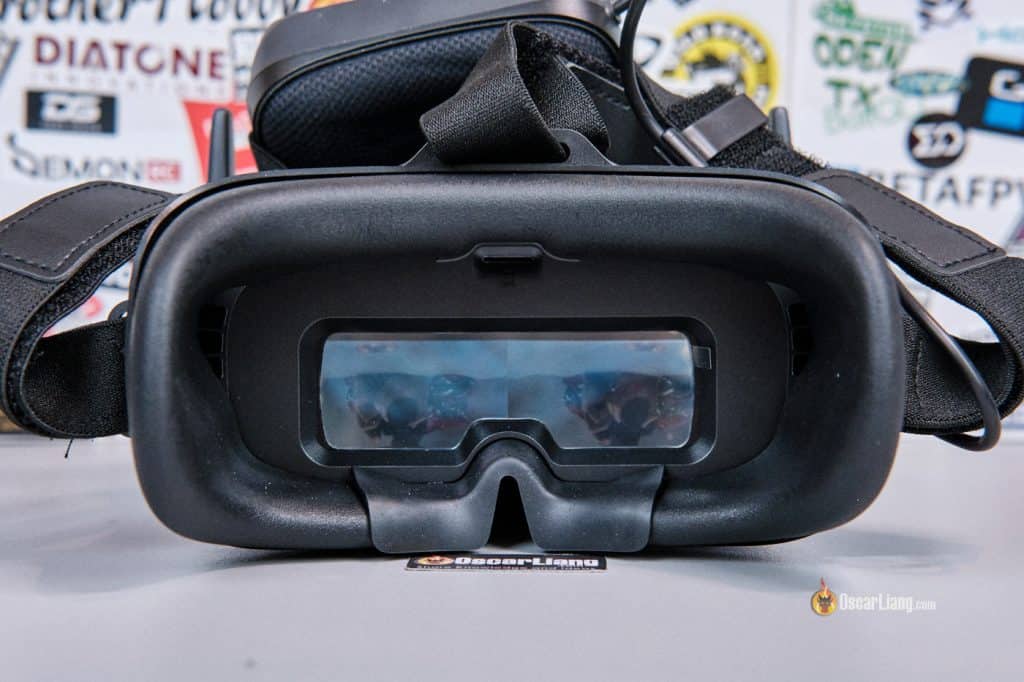
The goggles use a single LCD screen and have a very spacious faceplate—I was able to wear my glasses comfortably while using them.
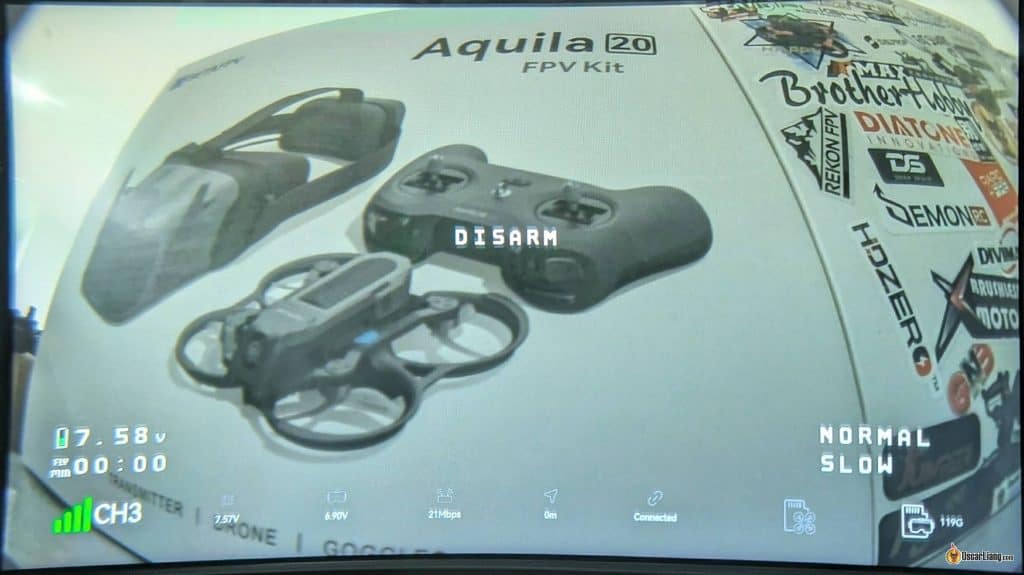
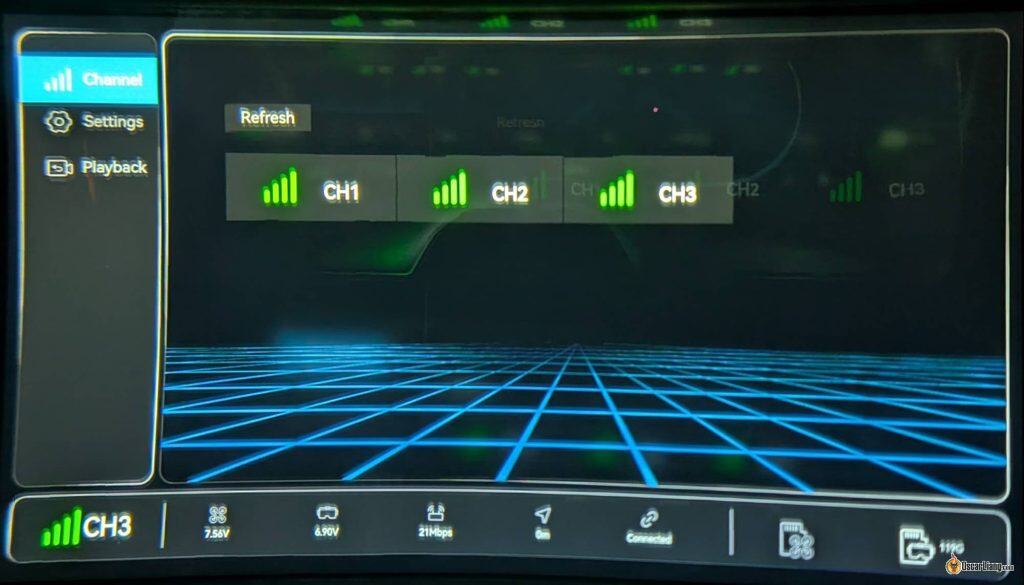
Betaflight OSD displayed correctly, and you get all the usual useful info at the bottom of the screen: VTX/Goggles input voltage, bitrate, distance, and available SD card storage.
They look considerably bulkier than the DJI Goggles 3, but that’s expected given the significantly lower price.
P1 Air Unit VTX
The P1 Air Unit I tested came from the Aquila20 HD drone, which uses a PCB antenna. The standalone P1 VTX you can purchase separately has the same camera and VTX, but comes with a dipole antenna instead.
The VTX, camera and PCB antenna weigh 7.1g all together, which is extremely lightweight!
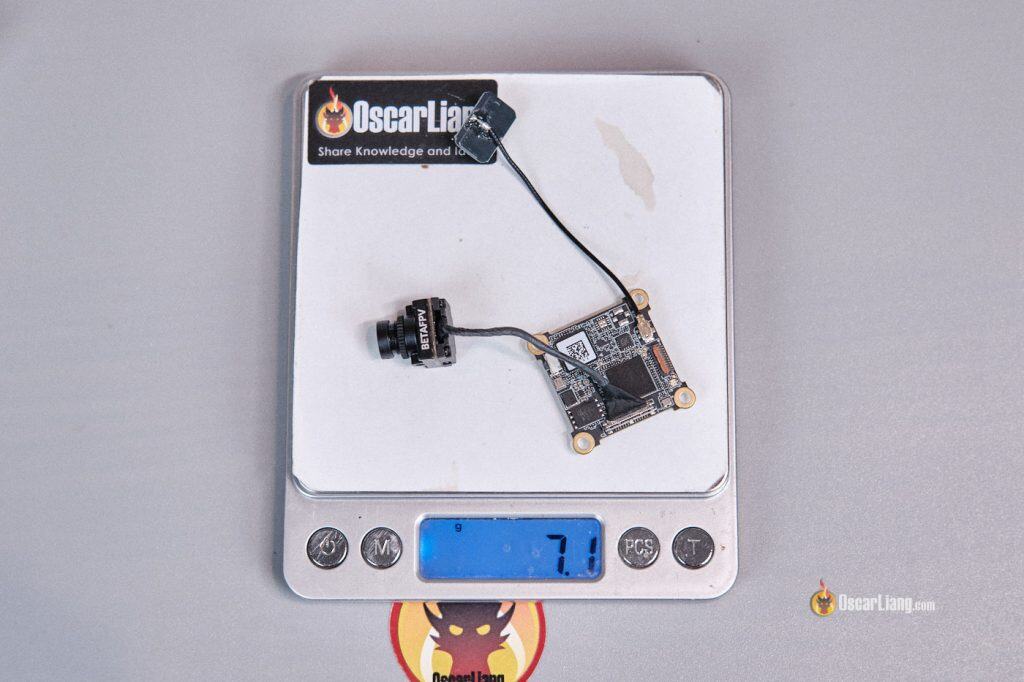
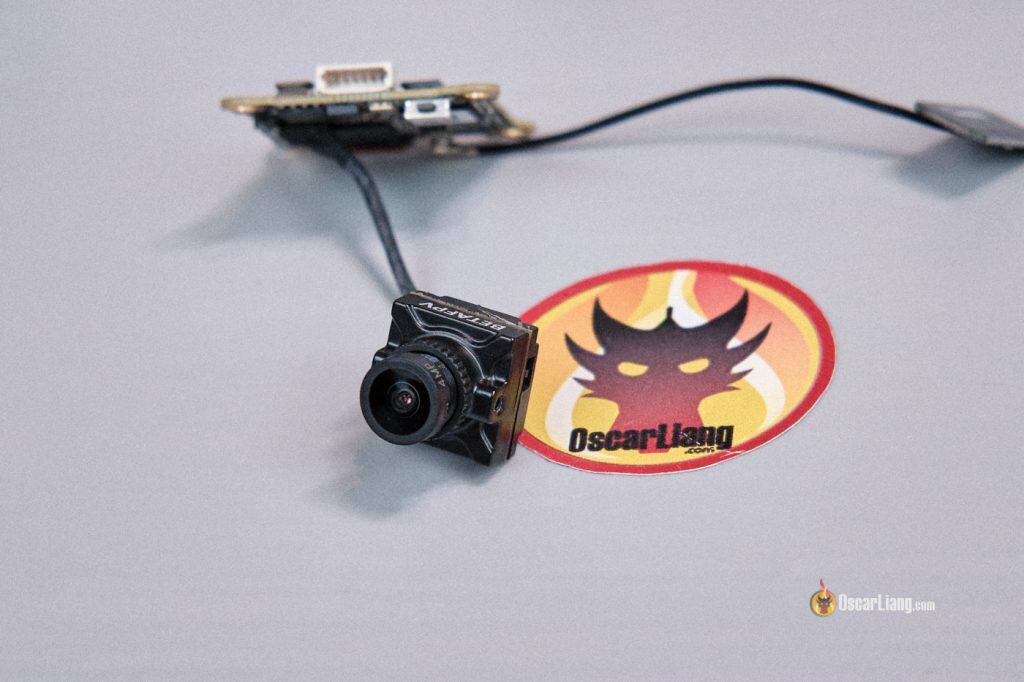
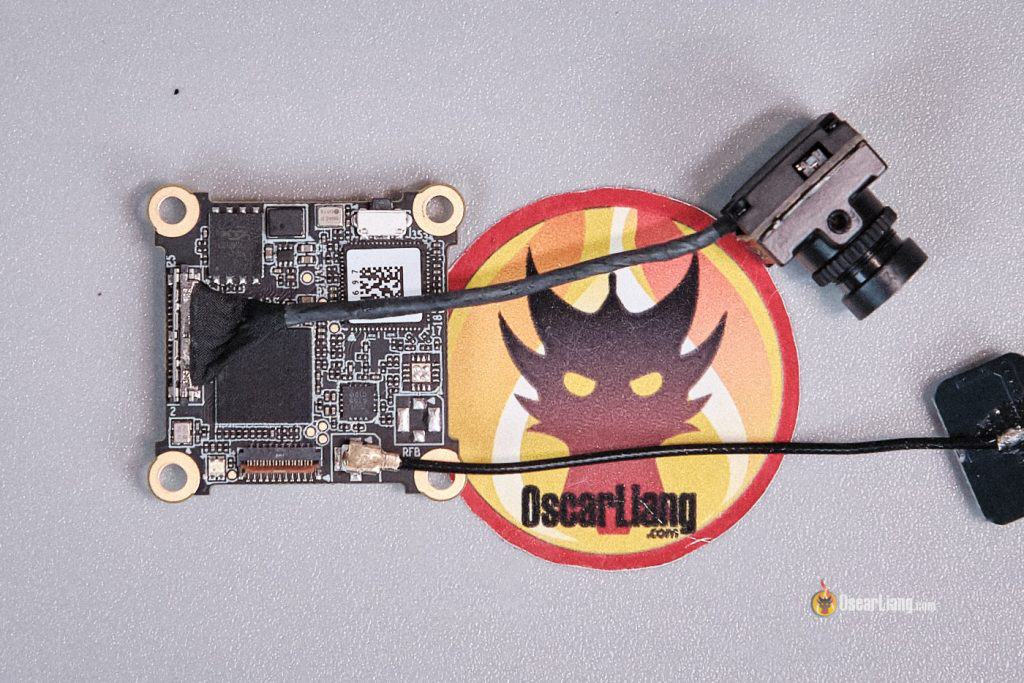
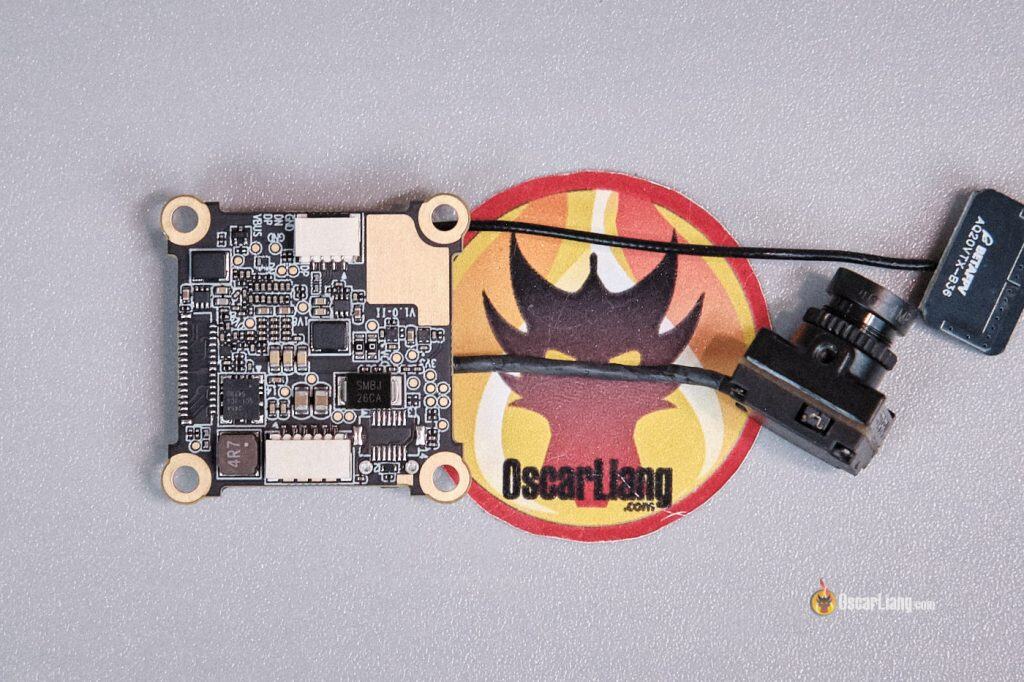
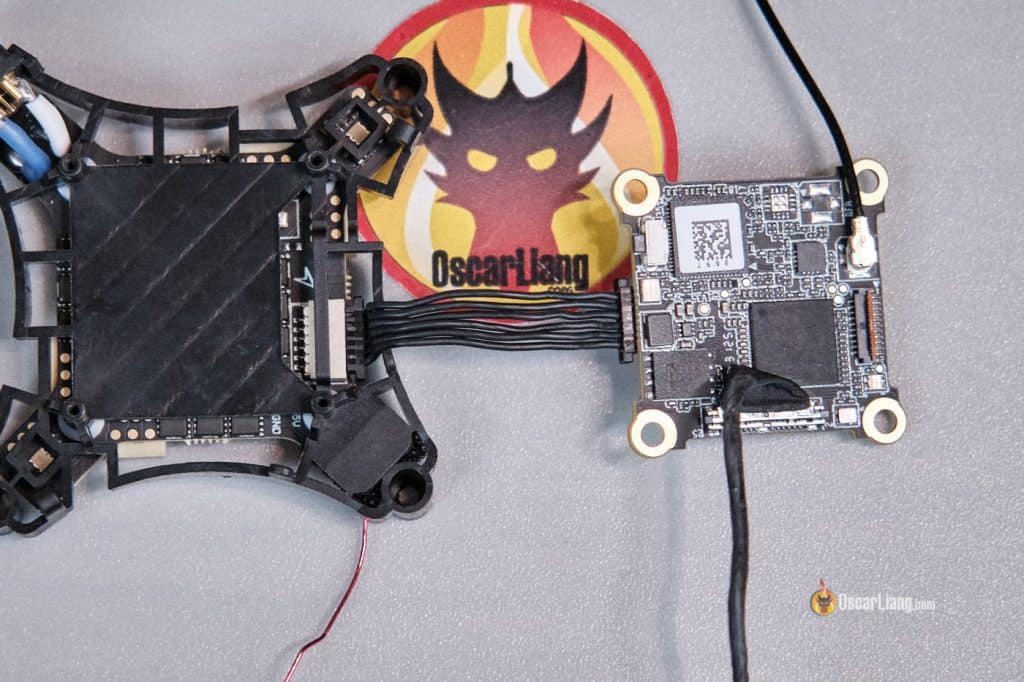
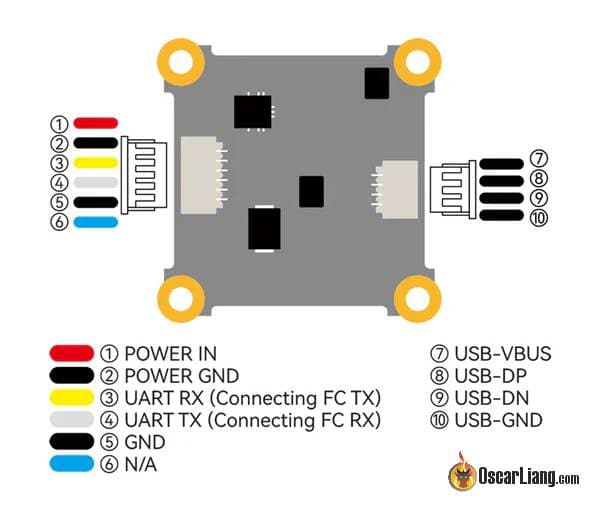
It connects to the flight controller using a 6-pin cable with the same pinout as DJI Air Units, making it compatible with most flight controllers that have a DJI Air Unit connector.
Camera Settings
You can’t record the camera menu in the DVR, so I had to take photos of the goggles display to show you the menu options and settings.
The camera settings are fairly standard, similar to most digital FPV systems. Available options include:
-
Sharpness
-
Contrast
-
Exposure (EV)
-
Aspect Ratio
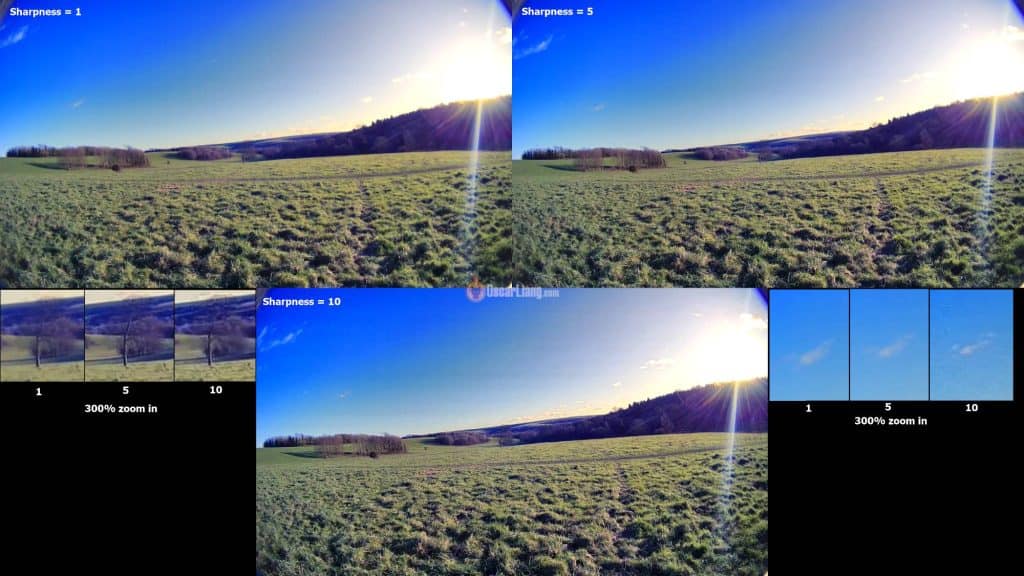
Sharpness
Sharpness settings 5, 6, or 7 work best for me. Setting it higher introduces excessive oversharpening and artifacts, too low it the image just look soft.
16:9 vs 4:3
The native aspect ratio is 16:9 which offers the biggest field of view. You can switch to 4:3, but it simply crops the left and right sides of the image, resulting in a smaller overall FOV.
In practice, there’s no real advantage to using 4:3 here. I recommend sticking with 16:9.
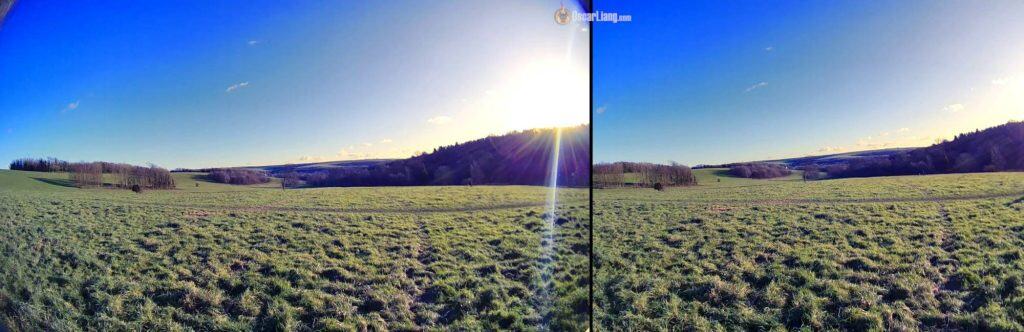
left: 16:9 mode; right: 4:3 mode
Transmission Settings
You can adjust bitrate, output power, and channel. The P1 Air Unit supports output power levels from 25mW up to 200mW.
OSD Tools
With systems like Walksnail, OSD data is often saved as a separate file that can later be merged with video. The BETAFPV P1 ArtLynk system works differently:
-
The Betaflight OSD data is embedded directly inside the recorded MP4 file
-
The goggles do not export a separate OSD file
-
You can’t simply toggle OSD on/off after recording
This means you need a tool that can extract that embedded data and render it back onto the footage.
A developer created a fork of the Walksnail OSD Tool that supports BETAFPV P1 ArtLynk recordings. It scans the MP4 file, extracts the Betaflight telemetry and OSD data, and overlays it onto the video.
Download links:
-
OSD Tool: https://github.com/ksielick/walksnail-osd-tool/releases
-
Sneaky FPV Fonts: http://sites.google.com/view/sneaky-fpv/
Drag and drop the MP4 file recorded by your BETAFPV goggles into tool, it will:
-
Scan the video for embedded OSD data
-
Extract telemetry information
-
Detect subtitle (SRT) files if present
The tool requires a Betaflight-compatible font which you also need to download.
-
Download a font pack (e.g., Sneaky FPV fonts)
-
Drag the font file into the application
Use the built-in sliders to position the OSD elements on screen. You can preview the result in real time to match the layout you want — typically similar to what you saw inside your goggles.
When everything looks correct:
-
Click Start Render (bottom-left corner)
-
The tool will generate a new video file
-
The output will have the OSD permanently burned into the footage
Potential Problems So Far
DVR Video Encoding Issues
There appear to be encoding issues with the DVR footage. DaVinci Resolve (my go-to video editor) had problems exporting edited videos. While I could edit them, clicking randomly on the timeline often resulted in a brief “Media Offline” warning as well, requiring a few seconds for the footage to load. This behavior also occurred in VLC Media Player—fast-forwarding caused noticeable loading delays.

It might be a codec-related issue. Hopefully, BetaFPV can address this in a future firmware update.
My workaround: Before importing the video in my video editor, I use GoPro Player (free to download) to export the footage using a different codec at the highest possible bitrate so I don’t lose any quality.
Video Connection Issue
Occasionally, after crashing far away, the video feed does not reconnect even after I get close to the drone. I had to restart the drone to restore video connection (power off and power on again)
I attempted to reproduce this by walking away from the drone until video was lost, but as soon as I walked back within range, video reconnected immediately. The issue seems to be pretty random.
Update (04/01/2025): I believe I’ve identified the cause—video does not reconnect when the VTX overheats. This can happen if the drone crashes or sits on the bench powered on for too long without sufficient airflow for cooling.
Final Thoughts
This is only an initial review, and I’ll continue updating this post as I spend more time with the Artlynk system. Image quality is clearly a great improvement from analog. Hardware are lightweight which is great for FPV drones. I hope latency can be reduced further to make it more versatile. There are some clear issues, but with firmware and hardware improvements, hopefully it will get better over time.
At the moment, the Artlynk ecosystem is still limited in terms of goggles and VTX options, and overall performance doesn’t yet match more established systems like DJI or Walksnail. That said, Artlynk is very affordable and offers a low-cost entry point into HD FPV for budget-conscious pilots.
I’m excited to see how this platform evolves.
To learn more about all FPV systems and which one might be right for you, check out my full analysis here: https://oscarliang.com/fpv-system/